Linode is a cloud platform with extensive infrastructure that offers a variety of products for both beginners and experts.
Fortunately, you can create a free-tier account for a period of 60 days. So, step by step, we’ll learn how to take advantage of the offer.
It doesn’t matter. If you’re a student, startup owner, SaaS owner, or developer, you are eligible for the offer. You’ll also discover how to easily set up your free server on the cloud platform. By the way, Linode got especially some auspicious gifts for students. You can check it.
Now let’s get started.

Table of Contents
Unlock 5x More Performance
How to Get Linode Free Tier Account
The process of claiming the offer is lengthy but simple. You should prepare a credit card or Paypal account to make things much easier.
They will not charge you; it is a payment method verification to weed out spammers and inactive users.
Sign up now for Linode Free Tier and get →
Coupon code: Auto-applied in the button below.
❌ Discountinued
Be very careful with Linode Free Trial: Many redditors and YouTube viewers have reported lately that Linode has set a credit card as a requirement for the free trial offer. After canceling the account, they keep charging users’ credit cards. So we recommend Kamatera instead; otherwise, use it at your own risk.
Want to try Linode’s cloud servers risk-free? Here’s how to claim their 60-day free trial with up to $100–$200 credit. Perfect for students, devs, SaaS founders, or even game server hobbyists.
🚀 What You Get:
- 60 Days Free Cloud Usage
- $100 Credit (sometimes $200 during promo)
- 20 VPS Instances, 1000 GB Storage
- 100+ 1-Click Apps (WordPress, Minecraft, CyberPanel & more)
Warning: Credit card or PayPal required for sign-up. Some users reported post-cancellation charges — use with caution or consider Kamatera as an alternative.
✅ Steps To Activate:
- Sign up via email → verify email
- Complete phone verification
- Add a payment method (PayPal or credit card)
- Fill billing details and accept terms
- You’re in! $100 credit will show in “Billing Info”
🔍 Use Cases for Free Tier:
- Host WordPress or Joomla websites
- Run a VPN or VS Code server
- Launch Minecraft/Discourse/Azuracast
- Experiment with AI or SaaS deployment
🛠 Deploy a Free Web Server (Example):
- Go to Linode Cloud Manager → Click Create
- Select CyberPanel from Marketplace
- Choose Ubuntu 22.04 LTS
- Select a plan, region & root password
- Deploy & access server at IP:8090
- Install WordPress or other apps in one click
💡 After 60 Days?
When the free trial ends or credit is used, standard billing starts. Plans begin at just $5/month (1GB RAM, 1 Core). Cancel early if you don’t want charges.
⚠️ Credit Card Reminder:
Free trial won’t charge upfront, but post-cancellation issues were reported. Monitor your billing or try safer alternatives.
Now follow the steps.
1.Go to the above link.
2.Look right side; there is a form offering three ways to start the sign-up process. It is better to choose an email option.
3.In next form, fill in your email address, username, and set a strong password.
4.Open your mail inbox, find the confirmation mail, 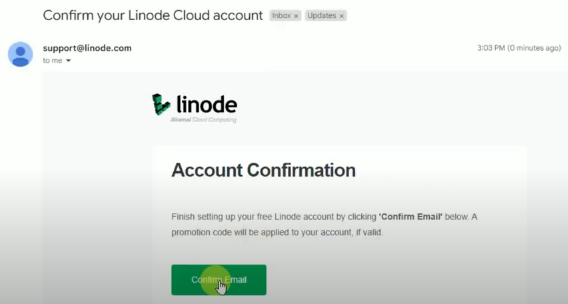 and click on the confirmation link.
5.Now it’s time to do some serious identification tests. Fill in your phone number and verify it.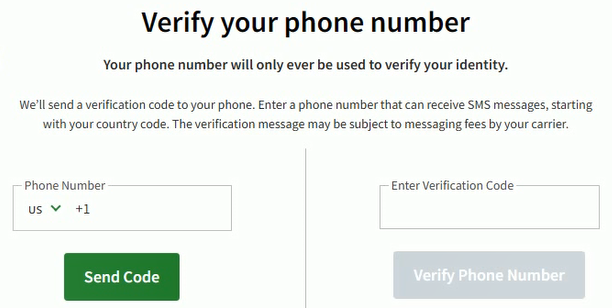
6.Choose one out of three payment methods and complete the payment setup.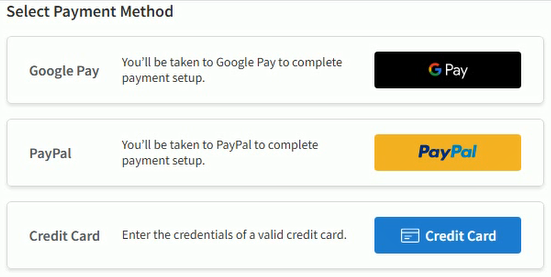
If you choose Paypal, you need to login with your Paypal credentials and allow Linode to get payment from Paypal.
7.Fill your name, address, and country to complete your billing address.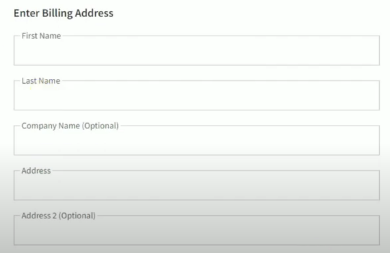
8.At the bottom, click to agree to the master services agreement and create an account.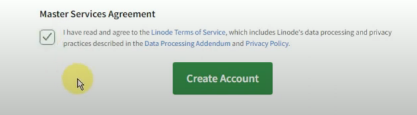
Congratulations! You have successfully created your account.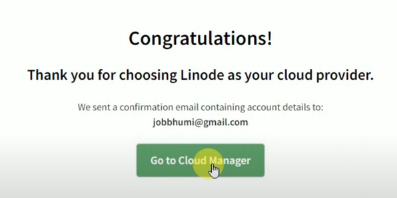
How To Check if Linode Free Tier Activated or Not
1.Go to cloud manager
2.Click on your username; find it in the top right corner.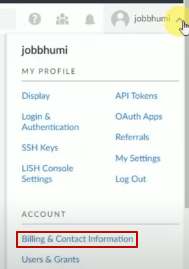
3.Head to Billing and Contact Information
4.You can find a promotion box showing $100 in credit with an expiration date. It means the offer is activated on your account.
What Can You Do Under the Free Tier Account?
Linode provides a $100 credit that can be used to deploy various AI, video rendering, streaming content, SaaS, and start-up products.
- Web Server
- Object Storage
- VPN Network
- Minecraft Server
- Azuracast
- Discourse
- VS Code Server
- Uptime Kuma
How To Deploy Free Web Server
1.Click Create over the top and choose Linode
2.Search CyberPanel and choose CyberPanel in Marketplace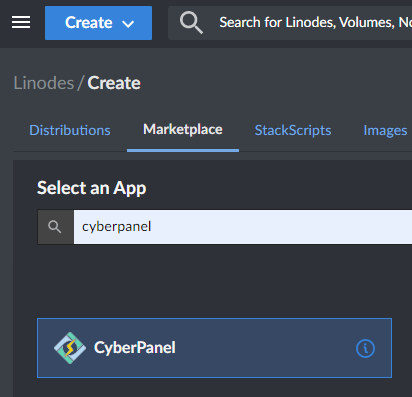
3.Scroll Scroll down and choose Ubuntu 22.04 LTS as image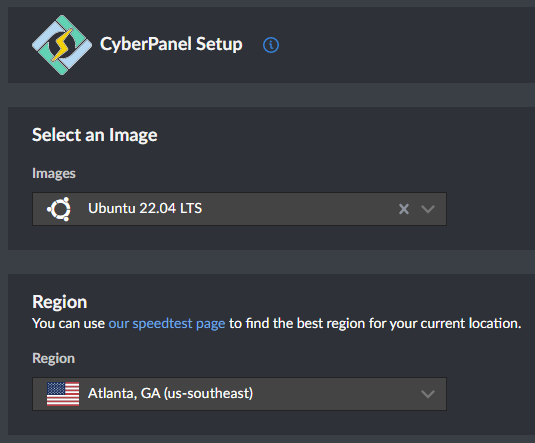
4.Select nearest data center to your audience in region section
5.Choose plan as per your project. 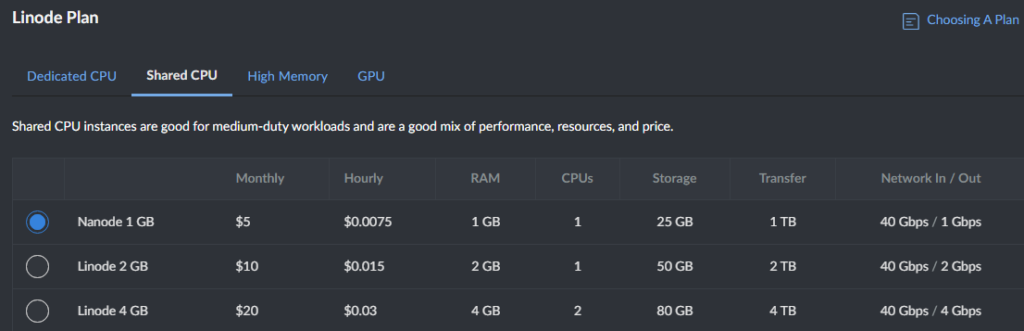 For the cheapest plan, you can select the shared CPU’s first plan.
6.Set a strong root password and keep it safe somewhere. 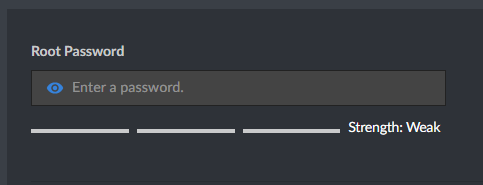 It will be needed to login to the server.
7.Now hit Create Linode.  The process will take a few minutes to prepare your server. After the process, you will get the server IP and CyberPanel credentials.
8.Add server IP like serverip:8090 in the guest mode of Chrome. 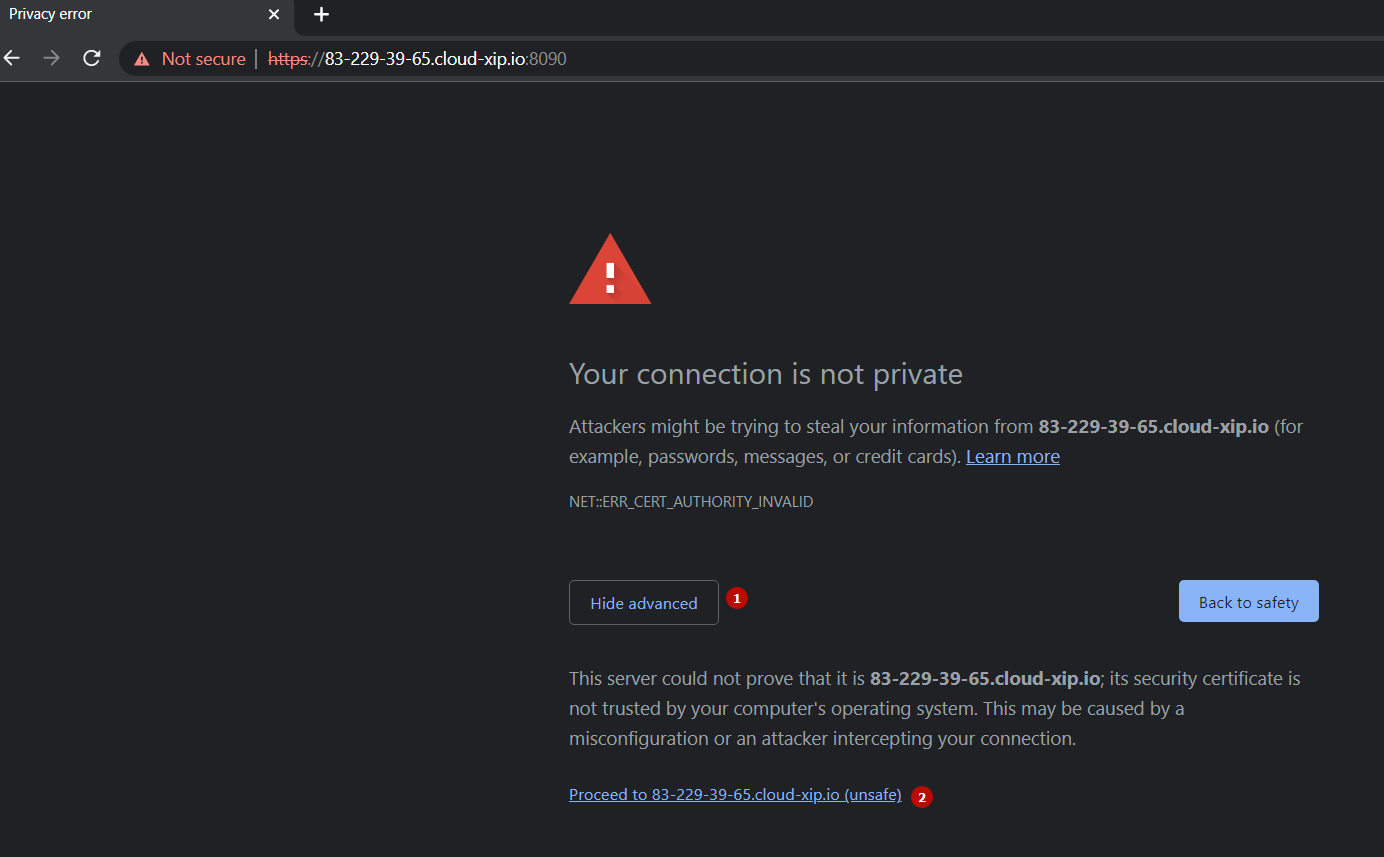 8090 is an allocated port for Cyberpanel. You might see an SSL error; ignore it, click advanced, and proceed to your server’s IP.
9.To login, enter your credentials into the Cyberpanel login form.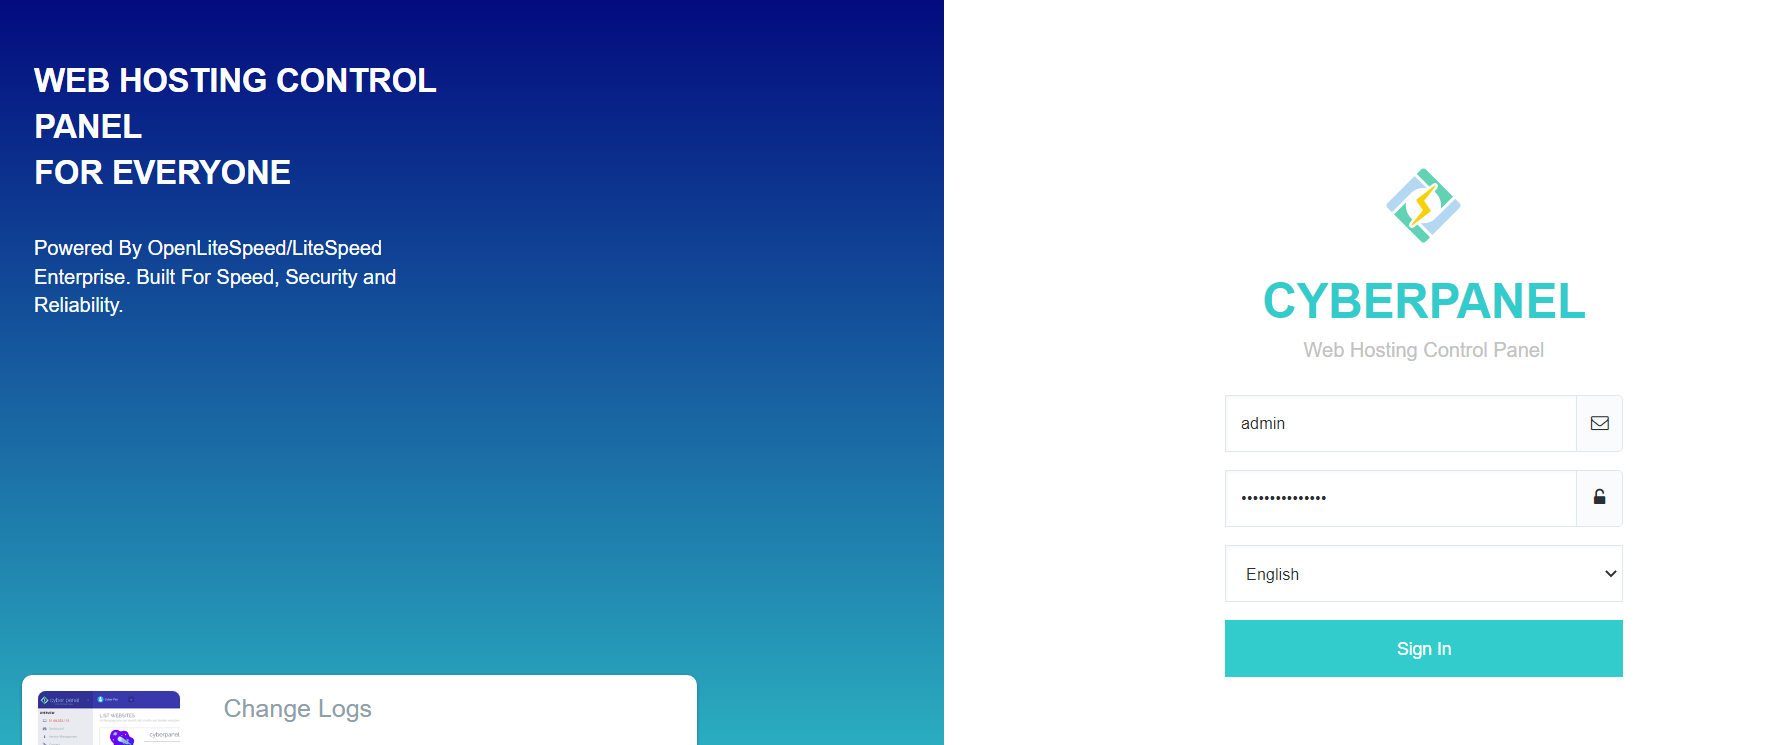
Under the Cyberpanel, you can find WordPress, Joomla, Git, PrestaShop, and Magento, which can be installed with a click. Let’s install WordPress.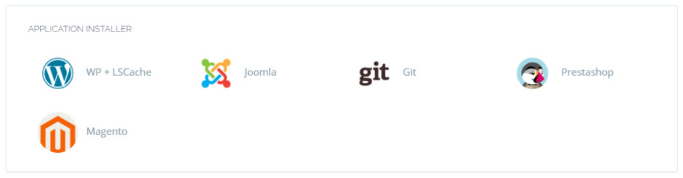
10.Click Websites>Create website under the center section.
11.Enter website details-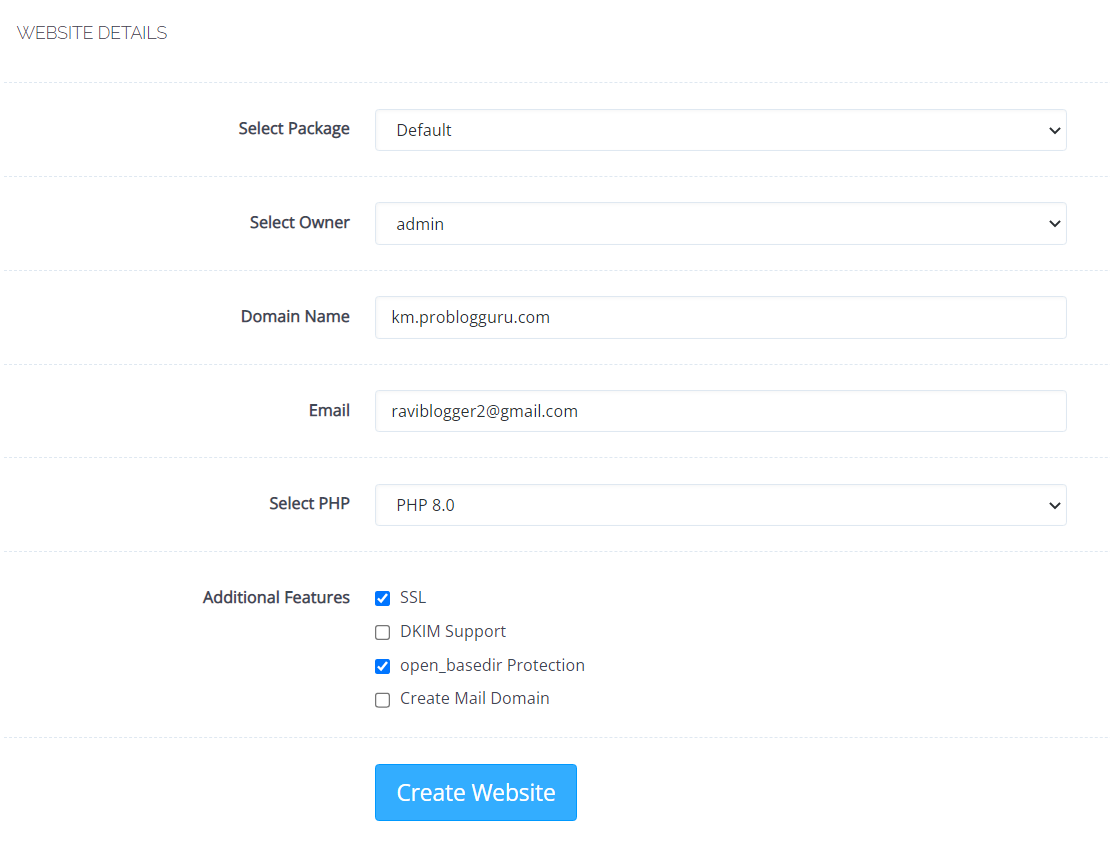
Package – Default
Owner – admin
Domain Name – domain name without www
Email
PHP – 8.0
SSL – Check
open_basedir Protection – check
Now click Create Website. First of all, SSL will be installed.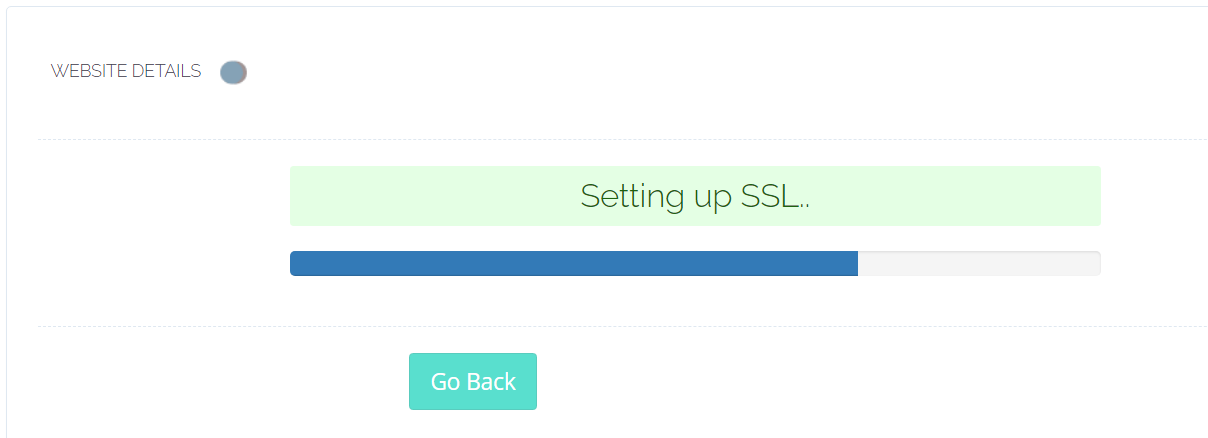
then the website.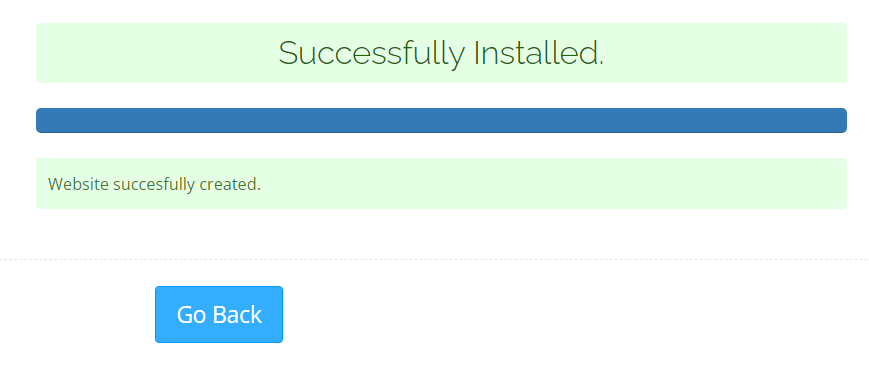
12.On the left sidebar, click the list of websites option.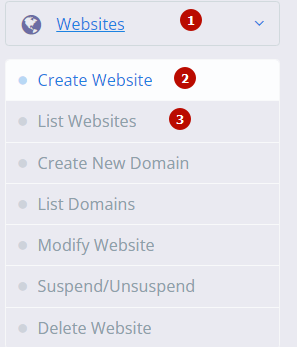
13.The installed website can be found here. Click Manage.
14.Quickly scroll to the bottom and click WP+LSCache
15.Set WordPress blog details and hit install now. 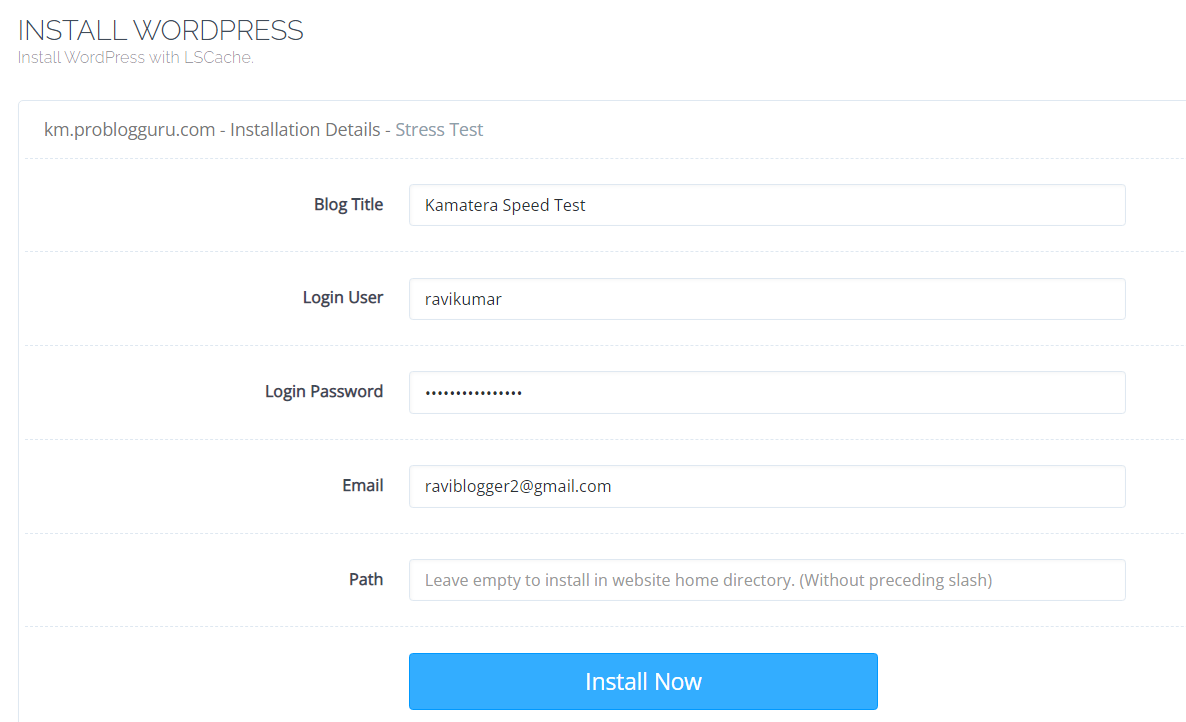 It will install WordPress with the LSCache plugin.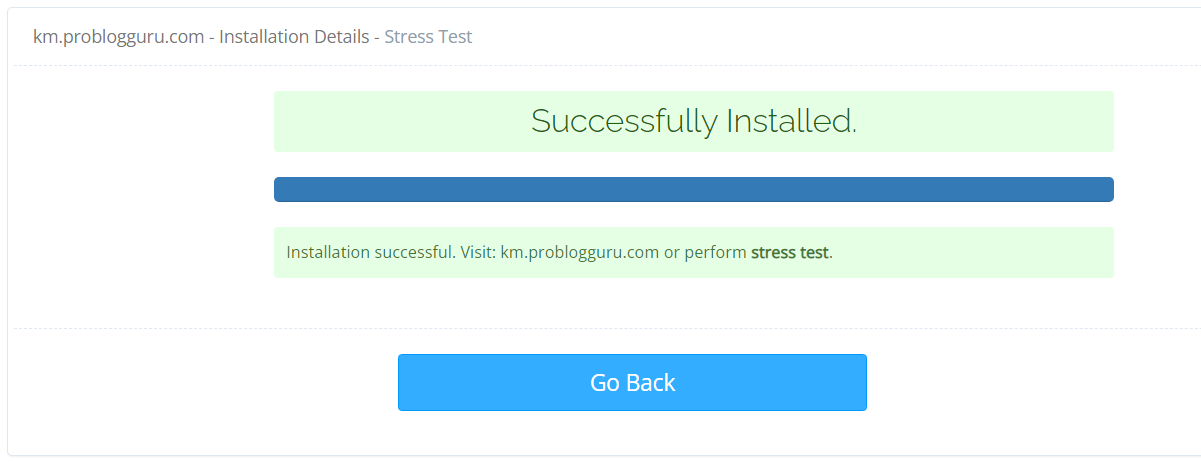
16.Now, you can visit your blog and access the admin area at domain.com/wp-admin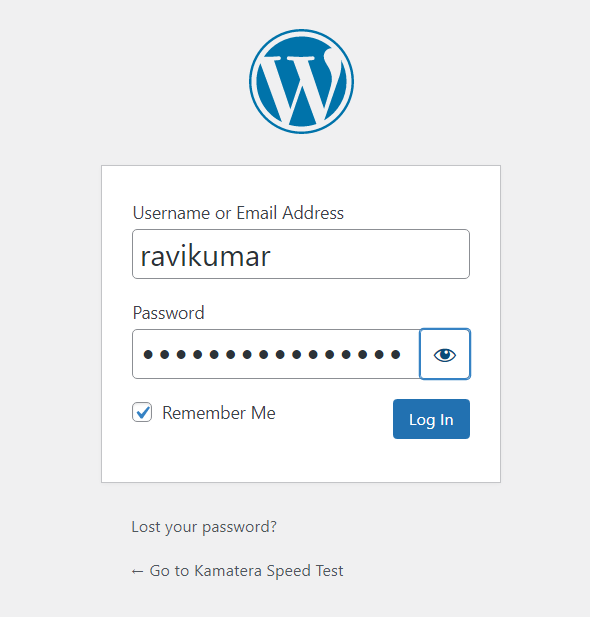
17.Your WordPress admin dashboard will look like this: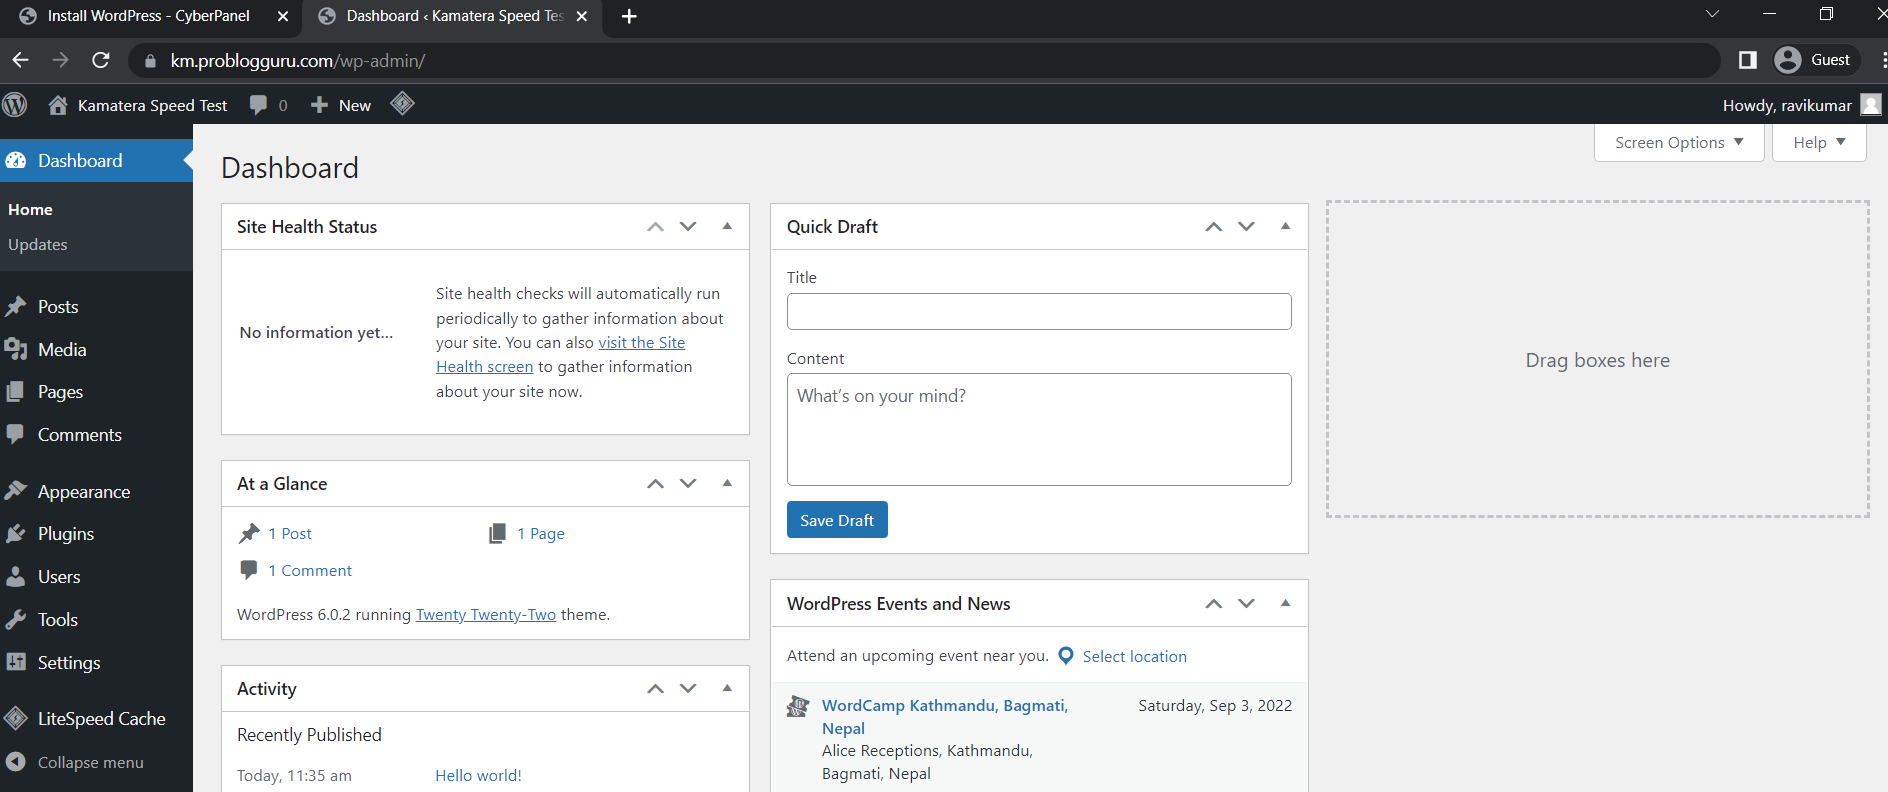
Linode Plan Pricing
While your trial period ends. You will be charged according to the plan that you have opted for.
They offer their plans in 5 major categories to fulfill almost all kinds of cloud customers, including bloggers, businessmen, scientists, gamers, etc.
Shared CPU Plan – The plan has been launched for beginners like bloggers and web admins. The higher plan of the group packs huge resources that are apt for a SaaS and medium-level e-commerce website.
| RAM | CPU | Storage | Bandwidth | Price |
| 1 GB | 1 Core | 25 GB SSD | 1 TB | $5/mo |
| 2 GB | 1 Core | 50 GB SSD | 2 TB | $10/mo |
| 4 GB | 2 Cores | 80 GB SSD | 4 TB | $20/mo |
| 8 GB | 4 Cores | 160 GB SSD | 5 TB | $40/mo |
| 16 GB | 6 Cores | 320 GB SSD | 8 TB | $80/mo |
| 32 GB | 8 Cores | 640 GB SSD | 16 TB | $160/mo |
| 64 GB | 16 Cores | 1280 GB SSD | 20 TB | $320/mo |
| 96 GB | 20 Cores | 1920 GB SSD | 20 TB | $480/mo |
| 128 GB | 24 Cores | 2560 GB SSD | 20 TB | $640/mo |
| 192 GB | 32 Cores | 3840 GB SSD | 20 TB | $960/mo |
Dedicated CPU Plan – The plan is designed to serve high CPU-intensive workloads that require 100% sustained CPU usage, like high-traffic websites, video rendering, machine learning, and data processing. You can run game servers like Minecraft and Team Fortress
| RAM | CPU | Storage | Bandwidth | Price |
| 4 GB | 2 Core | 80 GB SSD | 4 TB | $30/mo |
| 8 GB | 4 Core | 160 GB SSD | 5 TB | $60/mo |
| 16 GB | 8 Cores | 320 GB SSD | 6 TB | $120/mo |
| 32 GB | 16 Cores | 640 GB SSD | 7 TB | $240/mo |
| 64 GB | 32 Cores | 1280 GB SSD | 8 TB | $480/mo |
| 96 GB | 48 Cores | 1920 GB SSD | 9 TB | $720/mo |
| 128 GB | 50 Cores | 2500 GB SSD | 10 TB | $960/mo |
| 256 GB | 56 Cores | 5000 GB SSD | 11 TB | $1920/mo |
| 512 GB | 64 Cores | 7200 GB SSD | 12 TB | $3840/mo |
Premium Plan – It is like a dedicated CPU plan. The only difference is that it adds the latest generation of AMD EPYC for consistent high performance.
It is ideal for enterprise-grade, business-critical, and latency-sensitive applications. As of now, the plan is only available in the USA and France.
| RAM | CPU | Storage | Bandwidth | Price |
| 4 GB | 2 Core | 80 GB SSD | 4 TB | $43/mo |
| 8 GB | 4 Core | 160 GB SSD | 5 TB | $86/mo |
| 16 GB | 8 Cores | 320 GB SSD | 6 TB | $173/mo |
| 32 GB | 16 Cores | 640 GB SSD | 7 TB | $346/mo |
| 64 GB | 32 Cores | 1280 GB SSD | 8 TB | $691/mo |
| 96 GB | 48 Cores | 1920 GB SSD | 9 TB | $1037/mo |
| 128 GB | 50 Cores | 2500 GB SSD | 10 TB | $1382/mo |
| 256 GB | 56 Cores | 5000 GB SSD | 11 TB | $2765/mo |
| 512 GB | 64 Cores | 7200 GB SSD | 12 TB | $5530/mo |
High Memory Plan – The plan provides dedicated CPU instance resources with high memory capabilities, which are suitable for caching systems, high-performance databases, and in-memory data processing.
| RAM | CPU | Storage | Bandwidth | Price |
| 24 GB | 2 Core | 20 GB SSD | 5 TB | $60/mo |
| 48 GB | 2 Core | 40 GB SSD | 6 TB | $120/mo |
| 90 GB | 4 Cores | 90 GB SSD | 7 TB | $240/mo |
| 150 GB | 8 Cores | 200 GB SSD | 8 TB | $480/mo |
| 300 GB | 16 Cores | 340 GB SSD | 9 TB | $960/mo |
GPU Plan – The plan is GPU-optimized virtual machines accelerated by the NVIDIA Quadro RTX 6000, harnessing the power of CUDA, tensor, and core to execute complex processing, deep learning, and ray tracing workloads.
The plan is recommended for machine learning, AI, big data processing, video encoding and graphic processing.
| RAM | CPU | Storage | Bandwidth | GPU Cards | Price |
| 32 GB | 8 Core | 640 GB SSD | 16 TB | 1 | $1000/mo |
| 64 GB | 16 Core | 1280 GB SSD | 20 TB | 2 | $2000/mo |
| 96 GB | 20 Cores | 1920 GB SSD | 20 TB | 3 | $3000/mo |
| 128 GB | 24 Cores | 2560 GB SSD | 20 TB | 4 | $4000/mo |
Data Centers
Like resources Linode is rich in the availability of data centers across the world. They have 14 data centers
in the USA, Canada, Germany, France, the UK, India, Singapore, Australia, and Japan.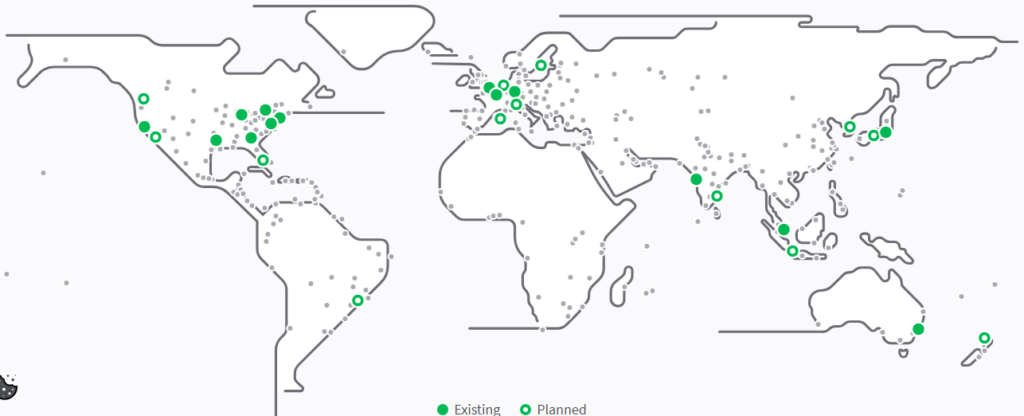
FAQ
1. Is the Linode free tier truly free for 60 days
Yes, the free tier is completely free as long as you stay within the credit limit. You receive up to 100 to 200 dollars in promotional credit that remains valid for 60 days from the date of activation. Linode only asks for a payment method to verify your identity. You will not be charged unless you continue using services after your credit expires or you deploy resources that exceed the credit limit.
2. Do students, developers, and startups qualify for the free trial
Absolutely. The free tier is open to students, indie developers, hobbyists, SaaS founders, and even small businesses. There are no special requirements besides phone verification and a valid payment method. Once verified, you can deploy cloud servers, object storage, containers, or one click apps immediately.
3. How can I confirm that my free credit has been activated
After creating your account, go to the Cloud Manager and click your profile icon in the top right corner. Open Billing and Contact Information and scroll to the Promotions section. If the free tier is active, you will see the available promotional credit along with the expiration date. If this section is empty, your free tier has not yet been applied.
4. What can I build under the Linode free tier credit
The free tier covers most entry level workloads. You can deploy a WordPress site, host a CyberPanel server, launch a VPN, experiment with AI tools, run game servers like Minecraft or Discourse communities, or even test SaaS deployments. As long as your usage stays within the 100 to 200 dollar credit and the 60 day window, you will not be charged.

Ravi Kumar is a Server Performance Analyst with over 4 years of experience benchmarking cloud infrastructure. He has optimized and stress-tested over 150+ websites, digging deep into uptime, disk latency, and CPU performance. Whether you’re looking for a free trial or a high-performance production server, Ravi uses real-world data to help you find the perfect host.